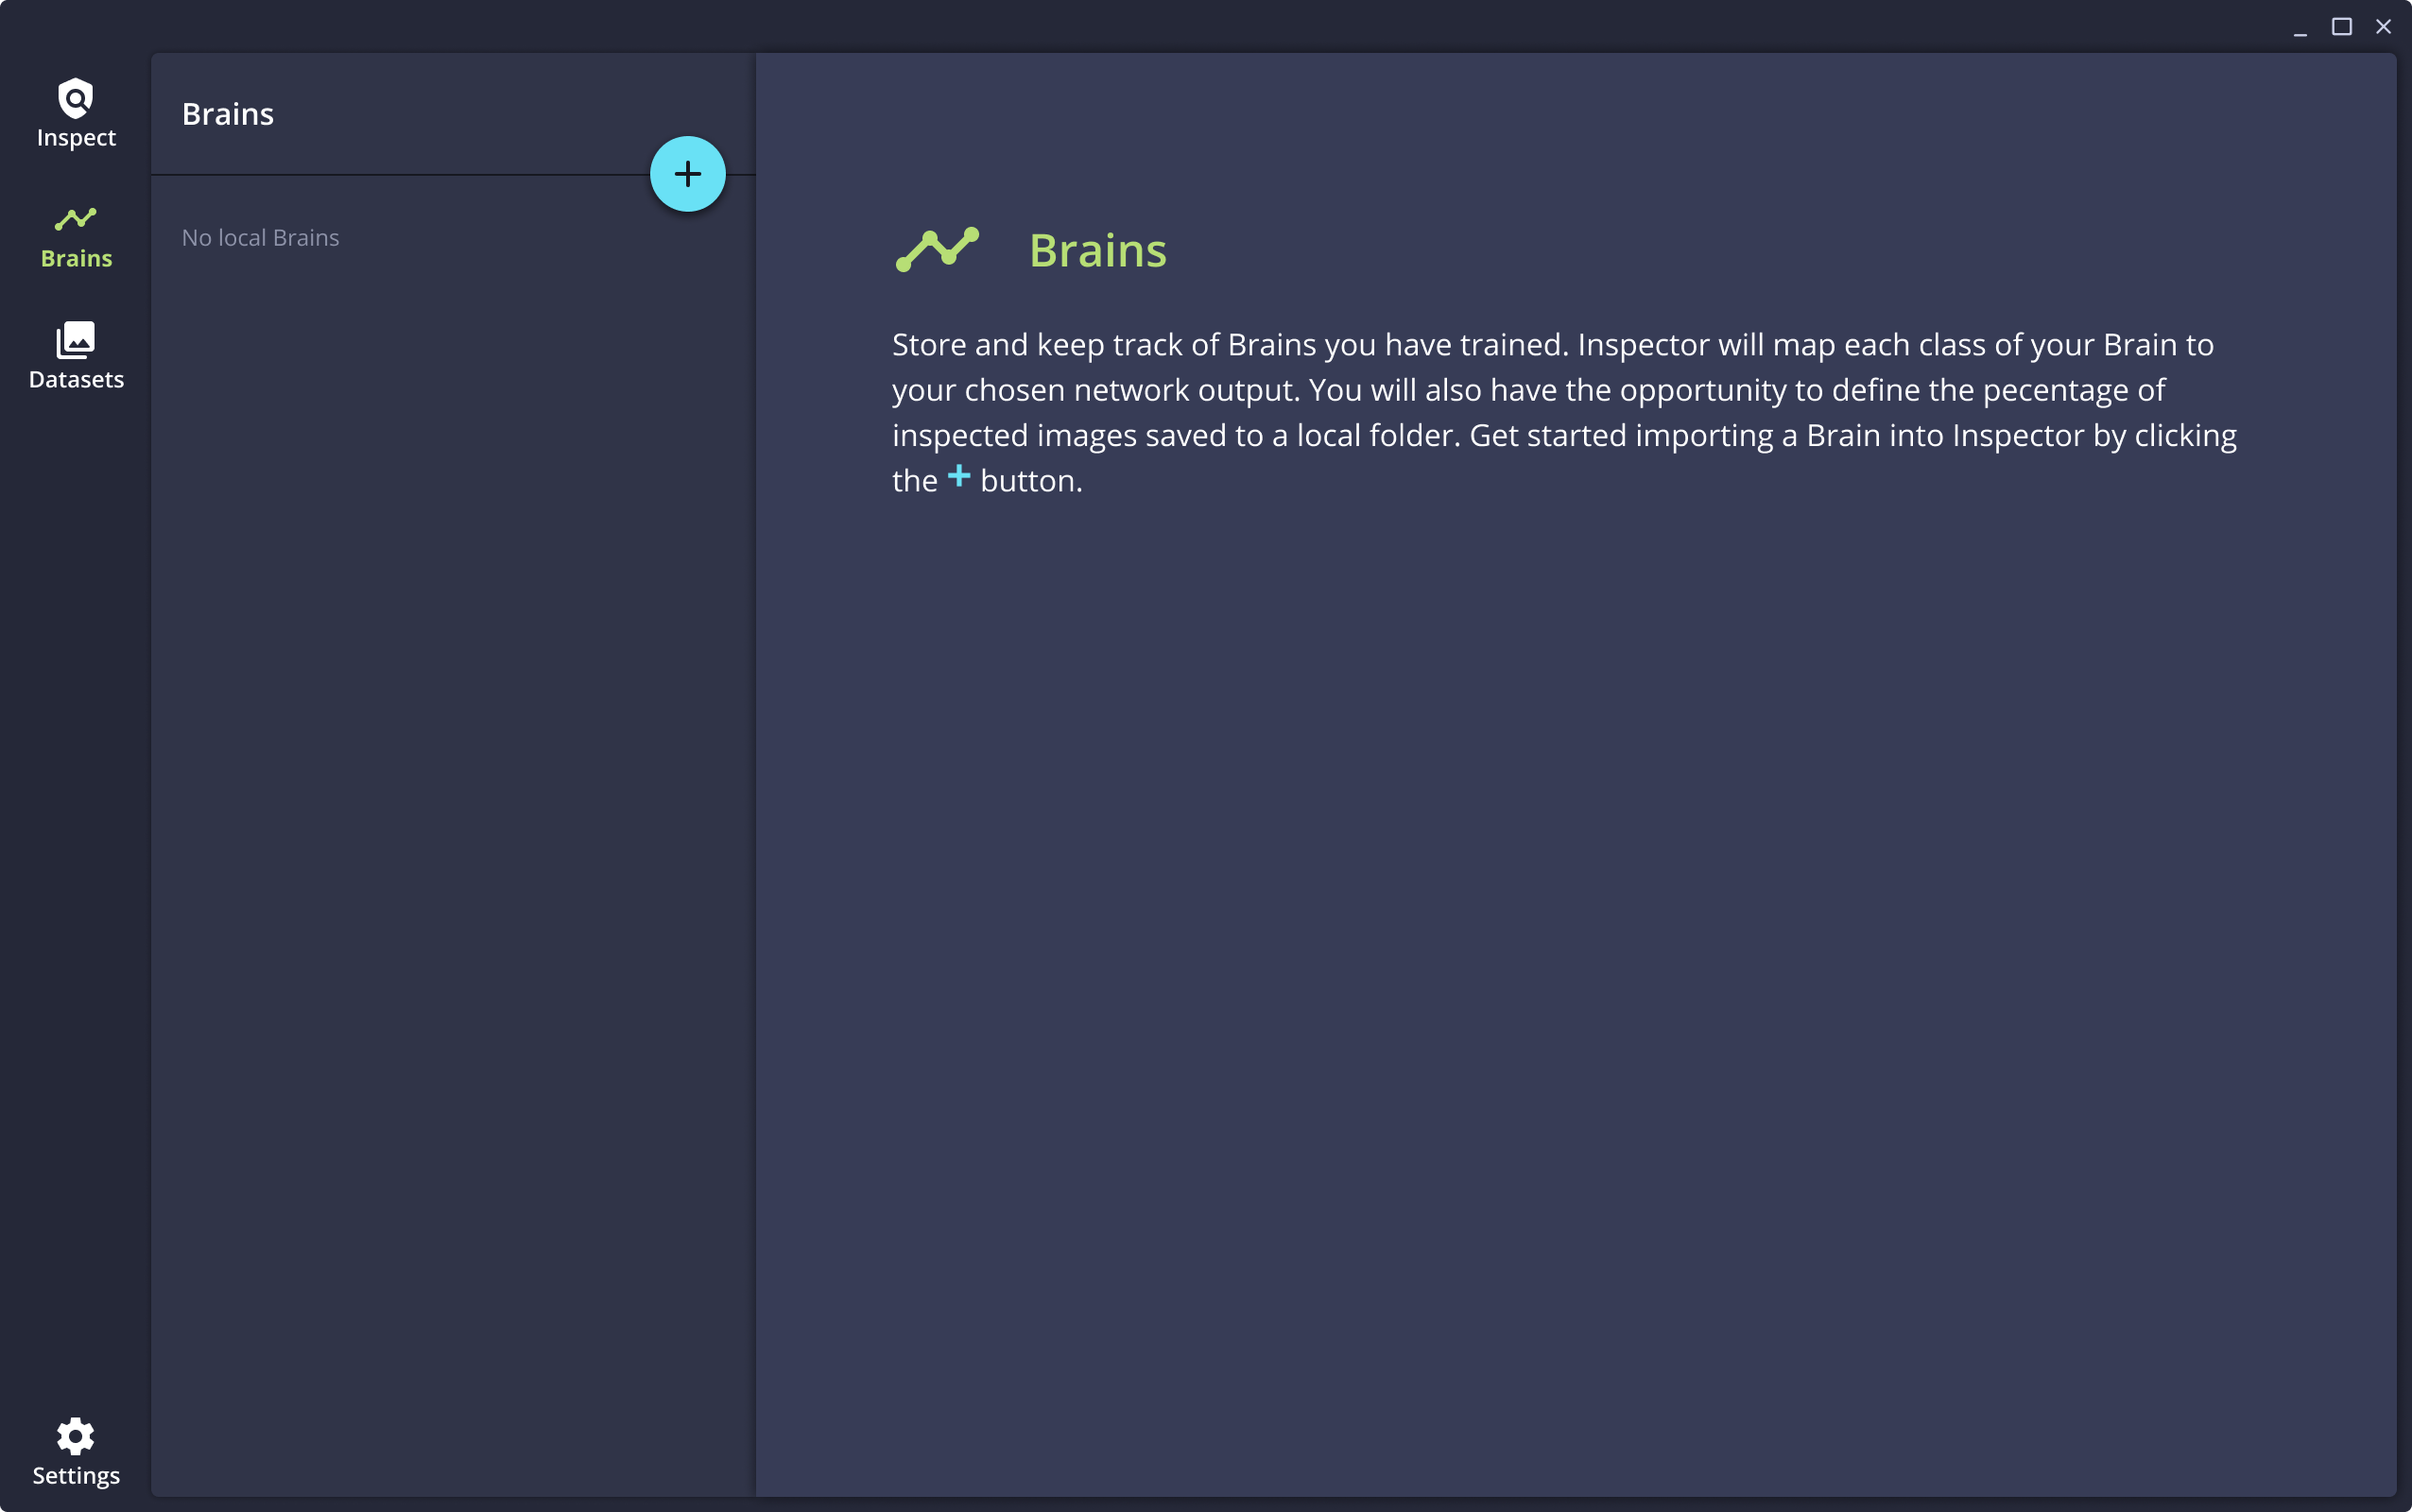
Importing Brains
Brains are the trained AI models that are used by Inspector to analyze images. Inspector can easily import Brains that have been trained in Brain Builder. It is necessary to connect Inspector to Brain Builder, which is detailed in Using Inspector.
Alternately, a Brain may be imported into Inspector as a separate Brain file. Instructions for both methods are detailed on this page.
⤵️ Importing from Brain Builder
-
To import a Brain from Brain Builder, navigate to the Brains page, click the + icon, and select Import from Brain Builder.
-
Inspector will communicate with Brain Builder to list all available Brains so that you can select the one you want in the Brain drop-down menu. If you do not see the Brain you wish to use, please make sure that the Brain has been deployed within Brain Builder.
-
When you select the Brain, the Brain Type will automatically populate depending the type of Brain you have trained.
-
You can then specify if you want to use the Staging or Production version of the trained Brain.
-
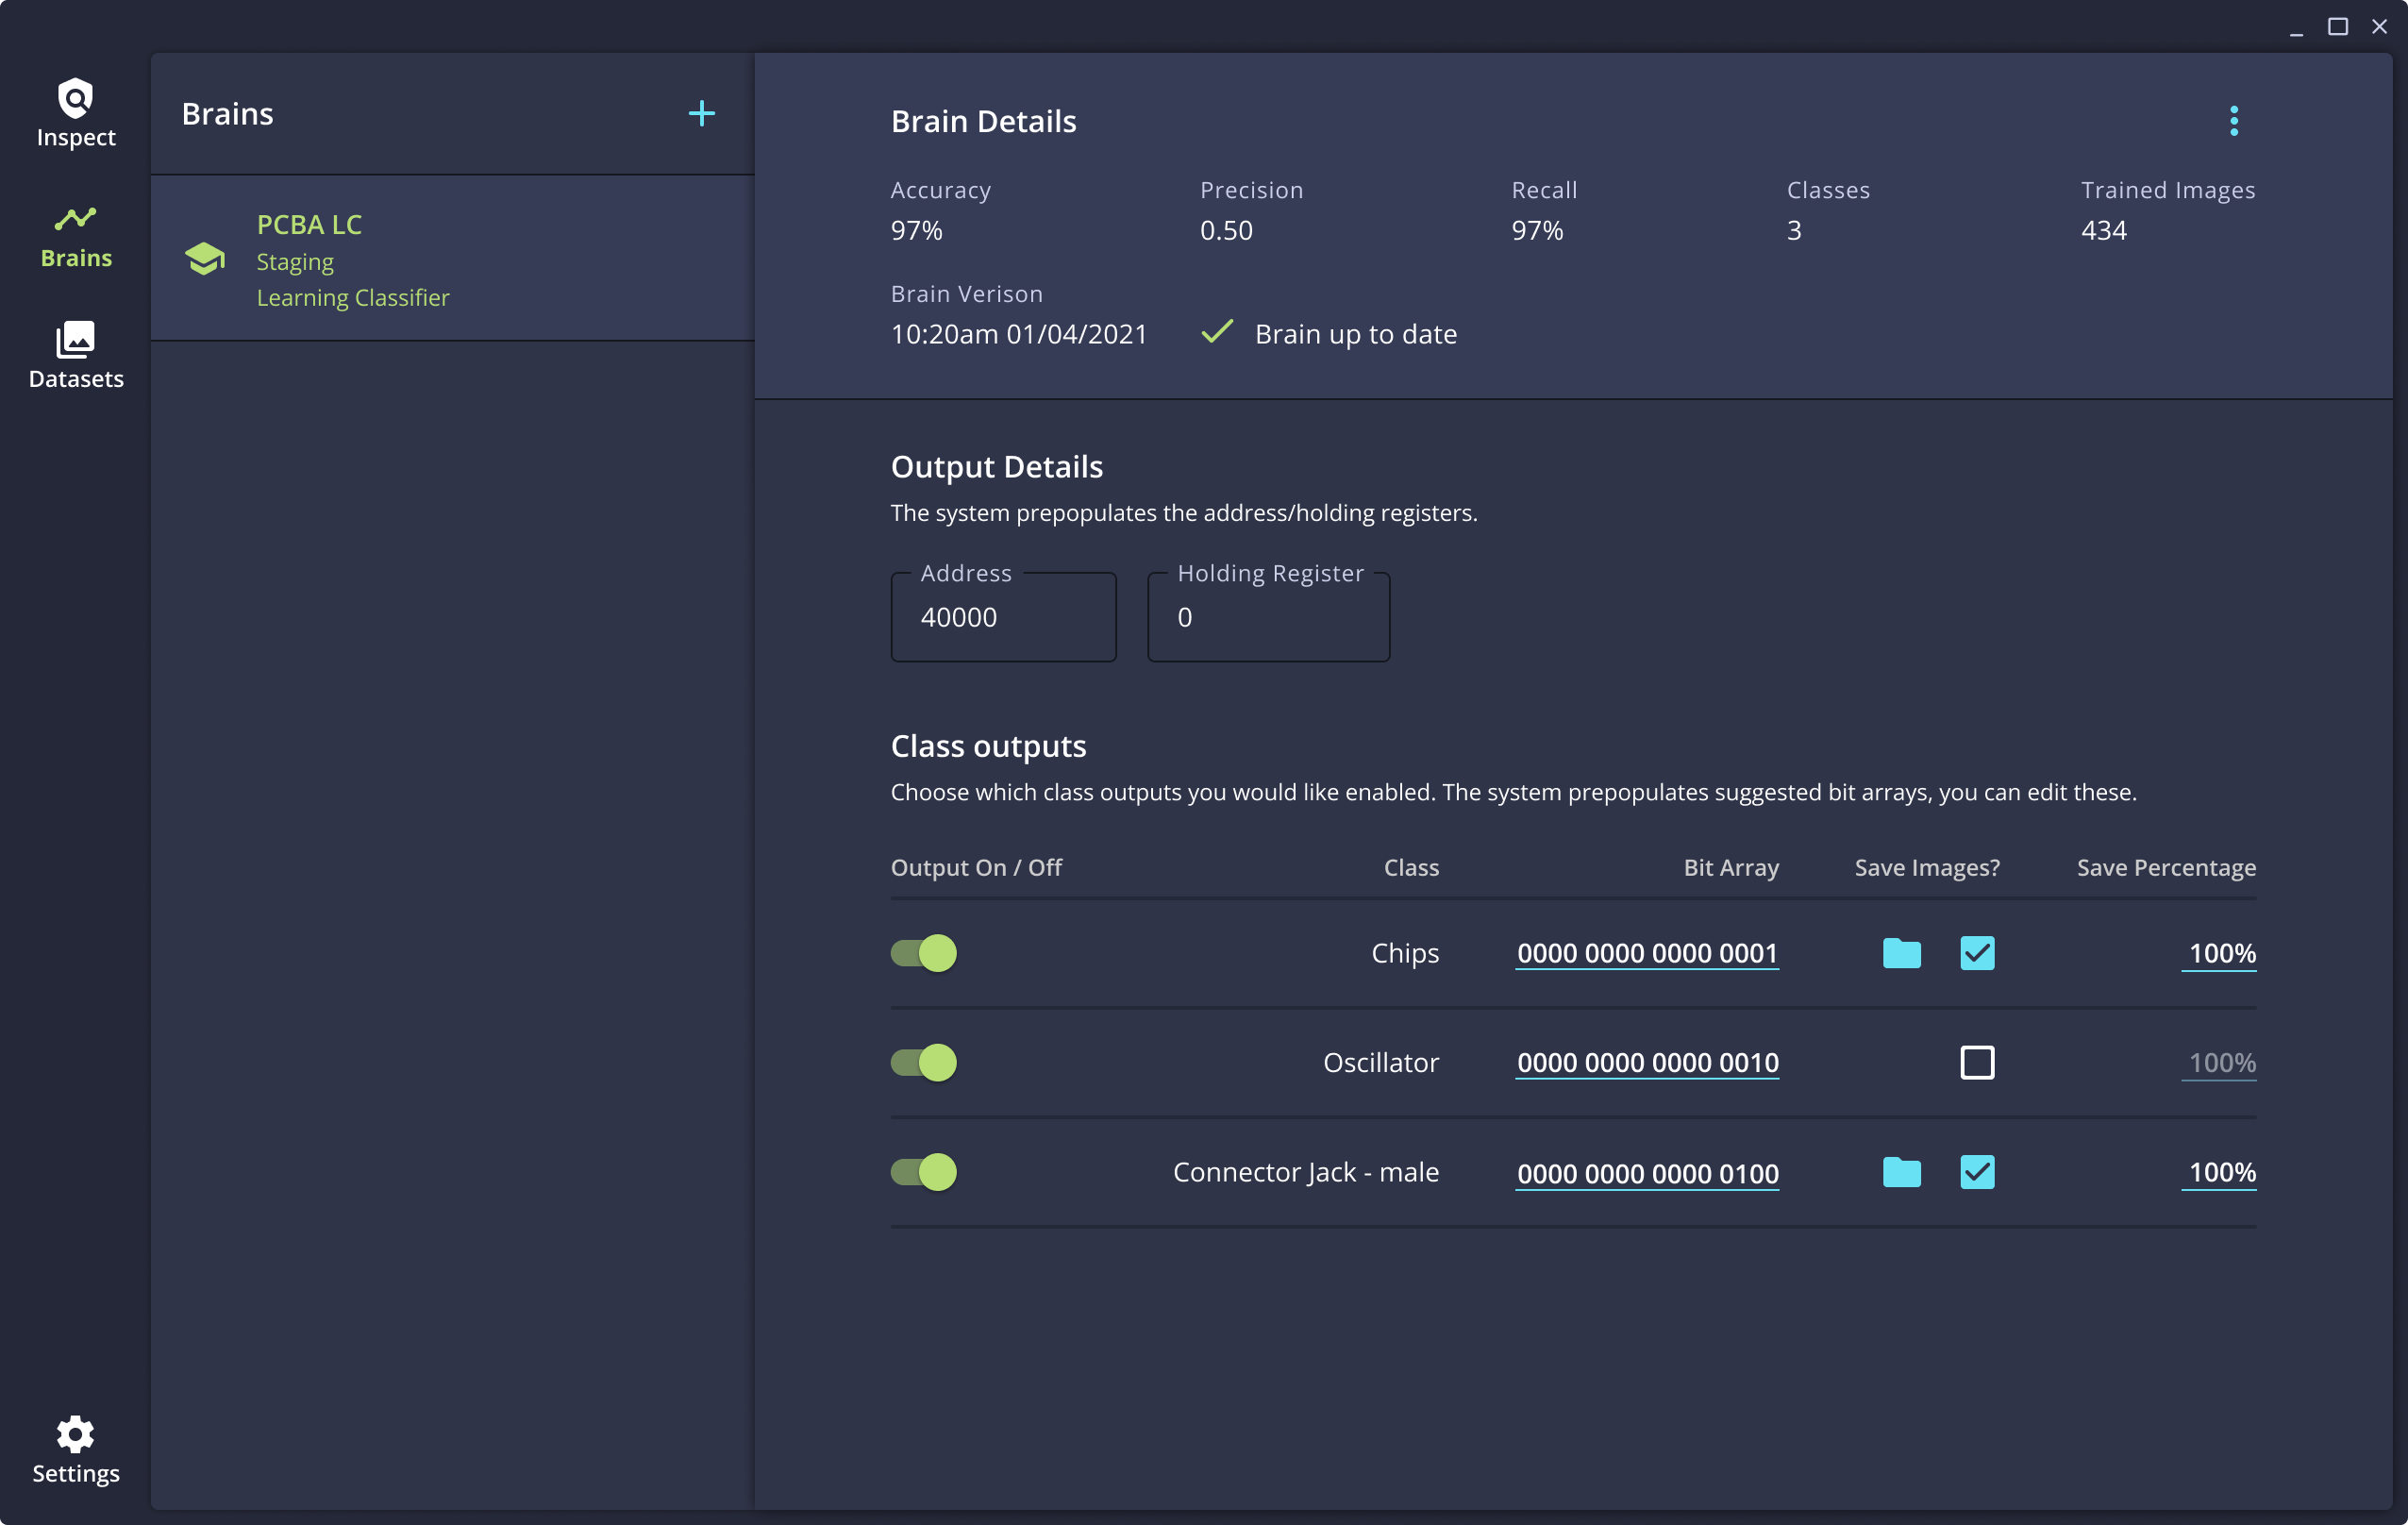
When you have completed your selection, click the IMPORT button. The Brain will be imported and the details of that Brain will be displayed.
Importing a Brain file
Inspector can easily import Brains that have been saved as a Brain file. This can be useful in situations where it is not possible to directly connect Inspector to Brain Builder.
- Make sure the Brain file is stored on the computer where Inspector is installed or on an accessible networked computer.
- Click the + button within Inspector and choose the option to import from a file. You will be prompted to select the Brain file from the file system.
- Inspector will import the Brain and load it onto the screen. The Brain name and type will be displayed along with the number and names of the Brain's classes.
Brains that are imported from files do not display quite as much information as Brains that are imported from Brain Builder, nor will you be prompted to update the Brain at any time. If you need to load a new version of the Brain, create a new Brain in Inspector and repeat the process with a new copy of the Brain file.
Output configuration
After the Brain has been imported, the options to configure the output will be shown on this screen.
The options will be different depending on the output setting that has been configured in Inspector. See Using Inspector for more details on available options.
Some output configuration settings that are specific to the type of output. Other options are available for all output types:
- Use the check boxes to select the classes for which Inspector should send an output signal.
- Indicate if any of the inspected images should be saved for each class, and if so what percentage of those images should be saved.
Updating the Brain
Changes may be made to the Brain in Brain Builder, such as training with additional images or adding new classes. After a new version of the Brain has been deployed in Brain Builder, Inspector will show a prompt that a Brain update is available. Click the button to update the Brain in Inspector to the latest version.
Updated about 1 year ago